
How to Create Digital versions from Watercolour illustrations in Pro Create
Here’s a personal walk-through tutorial of how I use ProCreate on the iPad pro to create a digital version from a watercolour paining original.
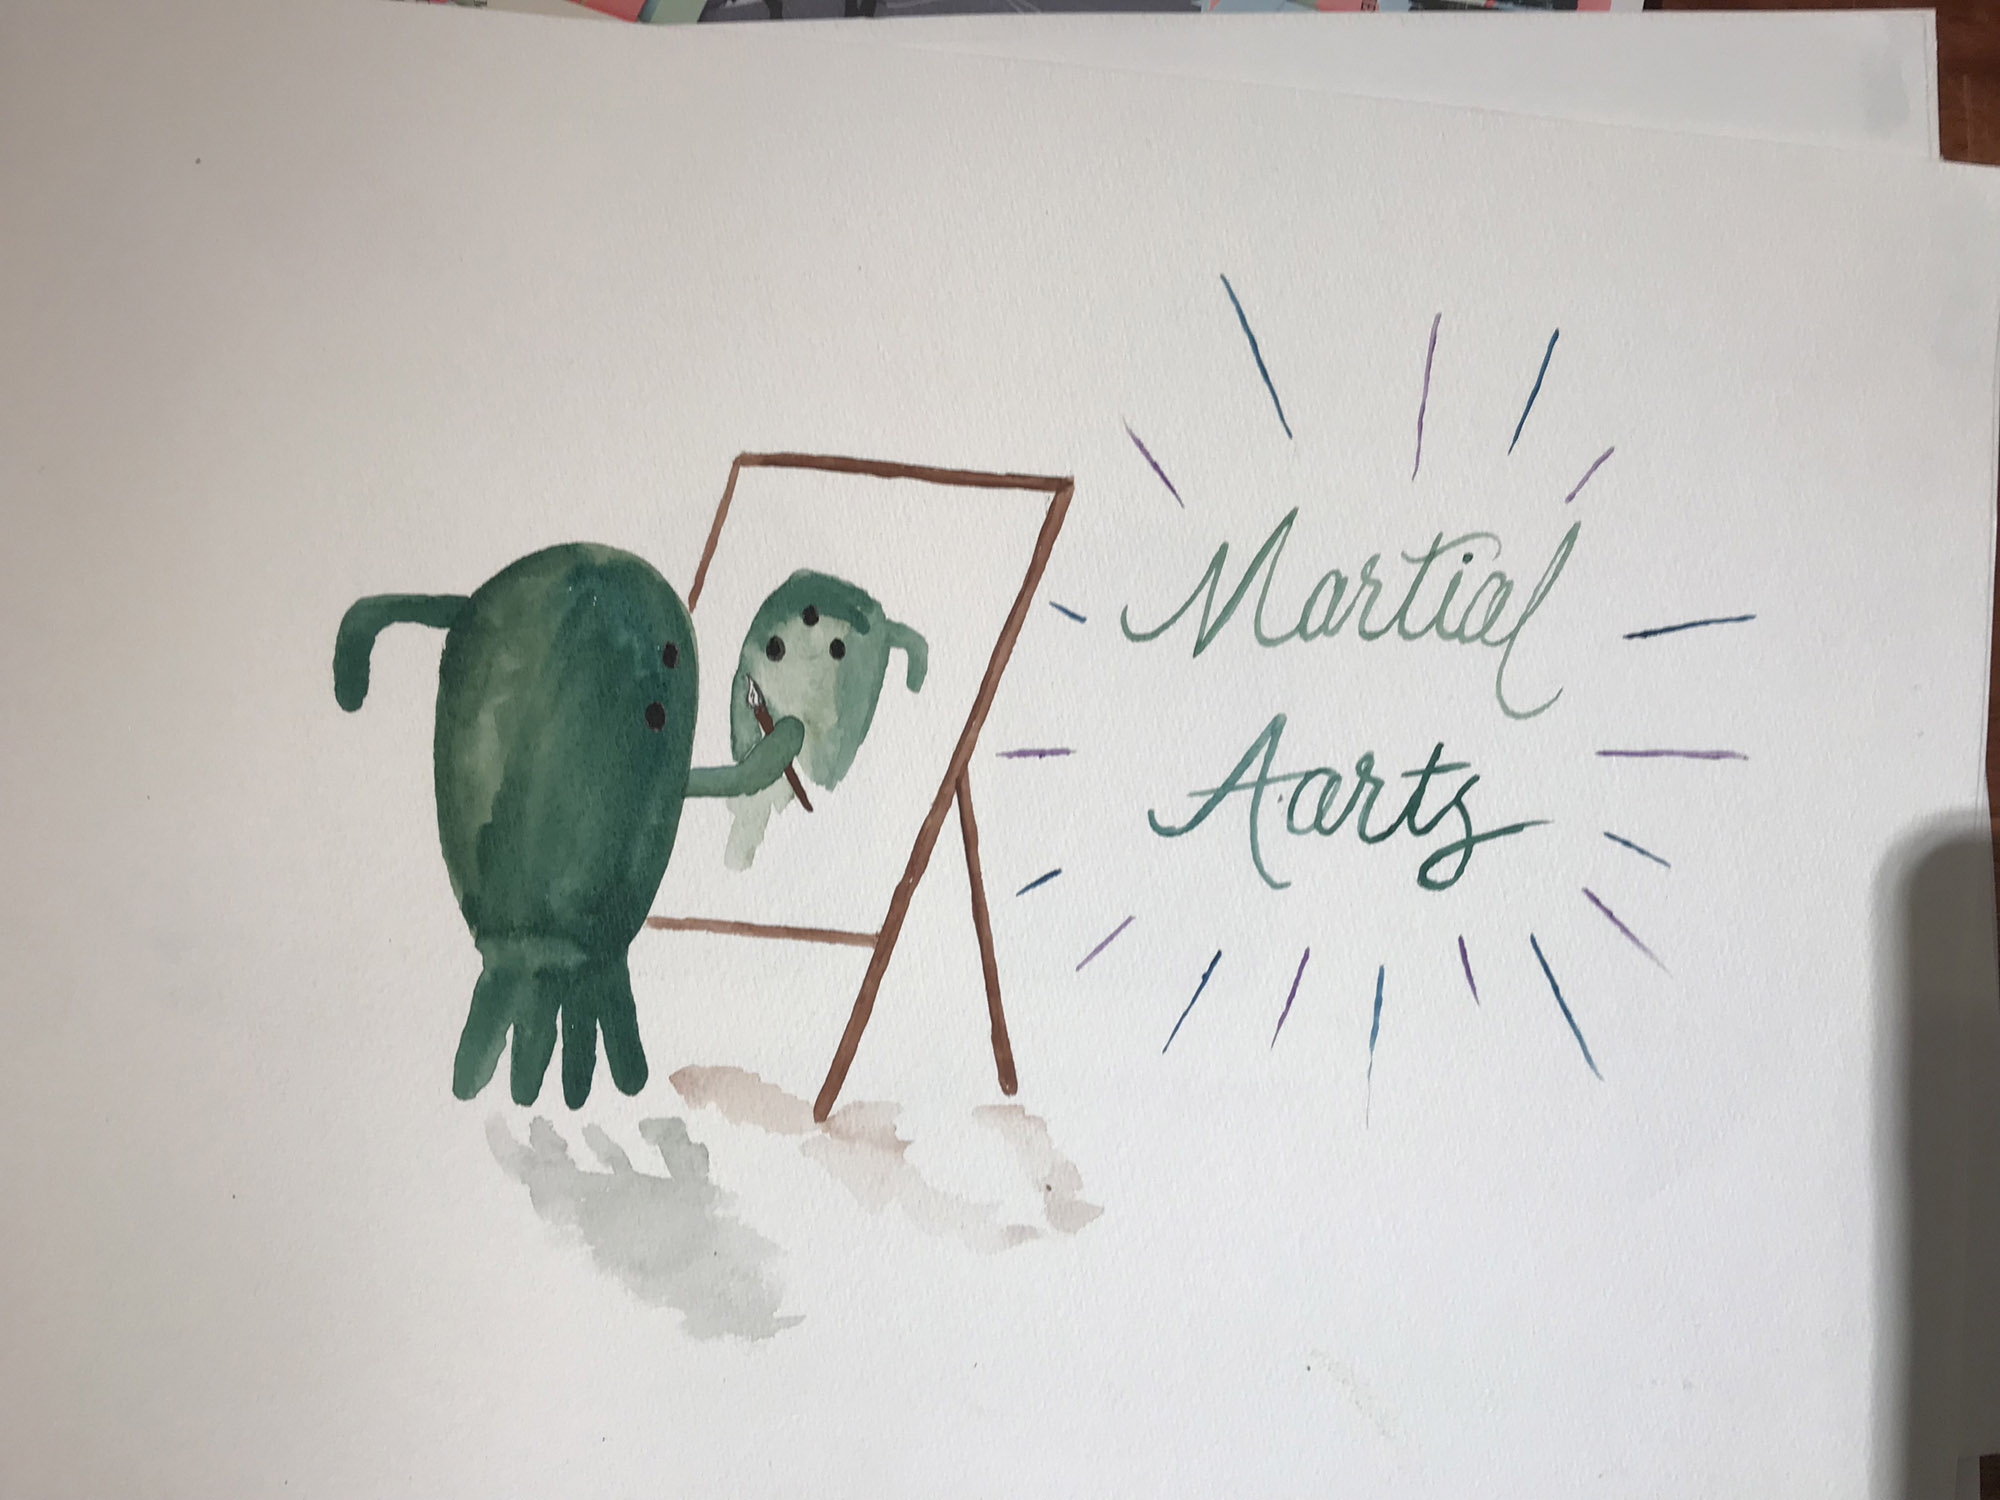
I’ve bee really enjoying creating artwork for products on Society6 lately.
My only issue has been how to best use my random watercolour illustrations I’ve created over the years, and apply them to printable artwork.
I’d tried photographing them, using lights, white backgrounds, daylight, everything I could get get a high quality, crisp image. But it never worked. There were always shadows and pieces slightly out of focus, or imperfections that bugged me. Creating artwork for print requires a very high quality image, CMYK colourspace and at least 300 DPi resolution. When you create watercolour paintings, they’re often on A5 to A3 sheets of paper, so without a professional photographing or scanning studio to bring the images from paper to digital, I was stuck with out high quality pieces.
So I tried something new.
I’ve been doing using my Apple iPad Pro, Apple Pencil and the app ProCreate since I purchased it back in 2017.
I had mainly used it for lettering and pencil sketch style work. I can say it has made a huge impact in my workflow and speed. The way the Apple pencil responds is flawless, it honestly feels like I’m drawing on paper. So I’ve spent a fair amount of time, drawing intricate lettering on the iPad Pro and ProCreate, but what I hadn’t done, was try to create any Art. I’ve always found it and to paint digitally. That is, until I explored the watercolour tools.
So here’s the process I used to create the digital watercolours.
I snapped a quick photo of the original watercolour using my iPad. I wouldn’t worry too much about perfect lighting, I would just try to get it straight and centered. Then I’d open up a new custom canvas on ProCreate (around 4800x4800px at 150dpi, RGB for those that want to know the details!). From there’ I’d import the photo into the canvas and scale back the opacity to around 30% and begin recreating the image.

My favourite tools to use for this type of artwork are the Technical pencil brush, and the watercolour brush. I’ll use colour swatches from the original watercolour in order to create the most authentic representation.
For the lettering it will depend on the image, but for this image I used a calligraphy brush created by Ryan Hamrick. Sometimes I’ll just use the monoline pen brush, or one of the other calligraphy brushes within ProCreate.

Finally I’ll turn off the original image layer, create a duplicate of all the new digital image layers and begin to tidy up the edges. I’ll re-scale the image, tweaked it slightly and tidy up edges. Then export it, and it’s done!
To create it into print ready artwork, I’ll bring the image into Adobe Photoshop. I use Creative Cloud for my business, so I’m always on the latest version of Photoshop CC. I’ll resize the canvas to my needs, convert the colours to CMYK, and also test print a small portion of the image to double check it’s performance.
Hope that has helped.
If you have an iPad Pro, I highly recommend checking out ProCreate here. They have just added live text into the latest update of the program, and that is also an amazing feature which would be perfect for mixing type and image quickly!
If you have any questions, leave them in the comments and I’ll help out.
Click below to see some of my digital watercolour artwork, for sale in a range of products on Society6.

